How Does a Wall Printer Work — Wall Printing Explained, Start to Finish
Here's how a wall printer (and a floor printer) turns a digital design into a printed surface — start to finish. The print head lays UV-curable ink straight onto the wall row by row, and a UV LED cures it on contact, so the ink dries the instant it lands. No wallpaper, no vinyl, no laminate-and-stick. Below: the basics of how it works, the full process step by step, and honest answers to the questions people ask before they buy.


From a design file to a printed wall — the same artwork, start to finish
How a Wall Printer Prints
A wall printer does one thing: it takes a digital design and lays it directly onto a surface as ink. Three things make that possible, and none of them involve wallpaper, vinyl or hand-painting.
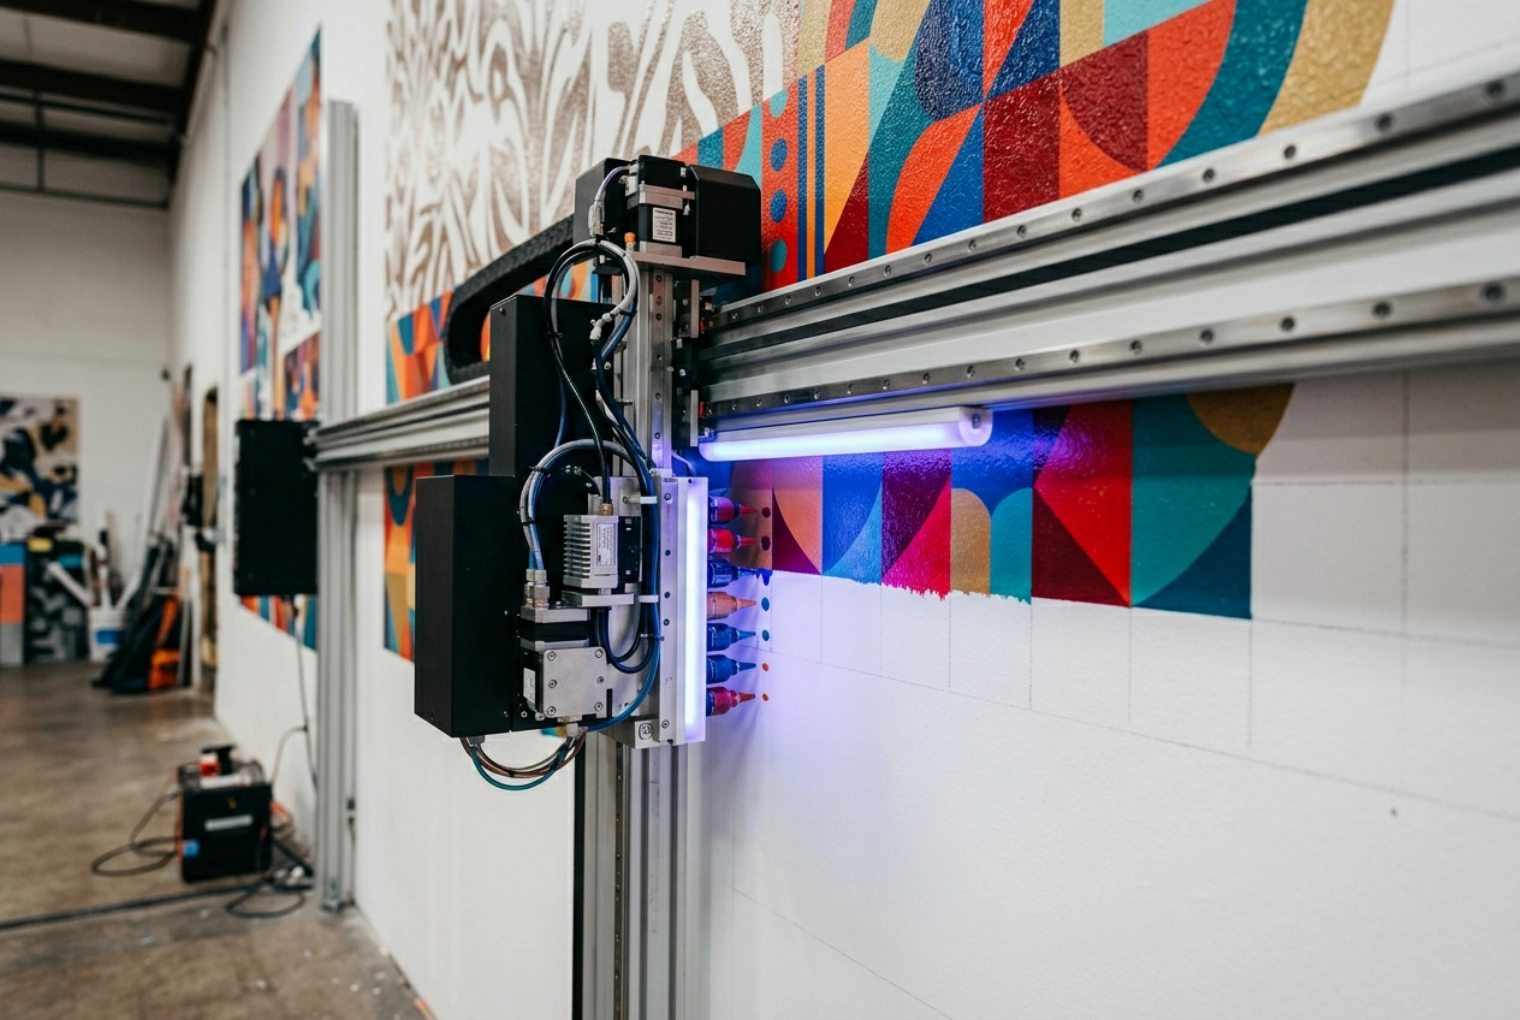
- It prints row by row. The print head moves across the surface and lays down ink one line at a time, following the digital file — the same idea as a desktop inkjet, scaled up and turned to face a wall. The machine handles the precise positioning so the image lands where the file says it should.
- The ink is UV-curable, and it cures on contact. As the ink lands, a UV LED cures it on the spot — so it dries the instant it's printed instead of running or smudging. That's what lets the machine print onto a vertical wall (or a floor) without the ink sliding.
- It prints straight onto the surface. There's no print-onto-paper-then-stick step. The graphic goes directly onto the wall or floor, which is why a printed wall reads as part of the wall rather than something applied over it.
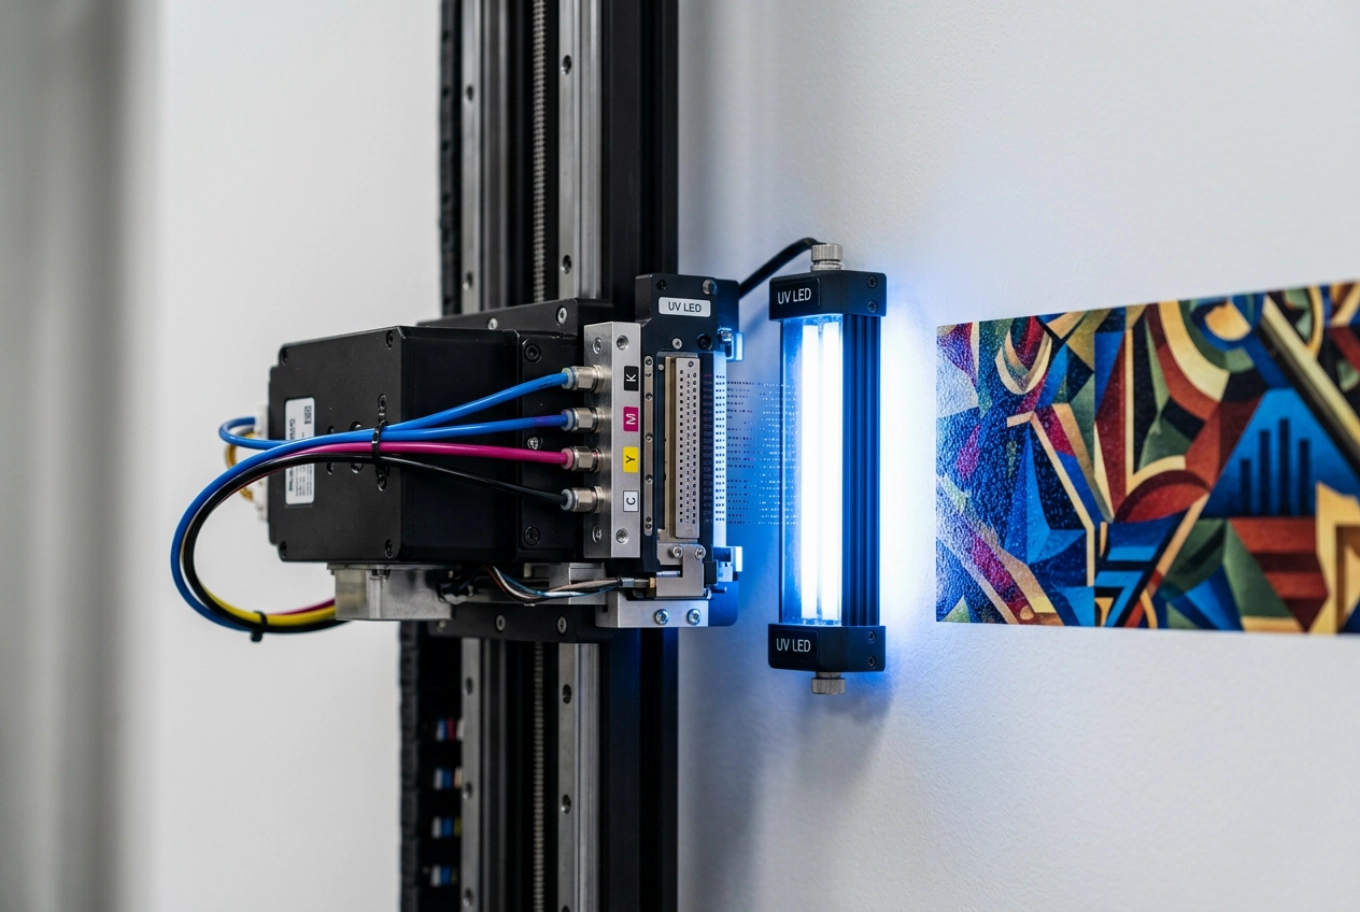
That's the whole principle. How well it prints — the detail, the working area, the speeds, the configurations — depends on the machine, and those numbers live on the product pages, not here. This page is about how it works, not which model to buy.
Why UV Wall Printing Works on a Vertical Surface
The question most people ask first is: how does the ink stay put on a wall that's standing straight up? The answer is the UV part. Ordinary ink would run before it dried; UV-curable ink stays liquid only until the UV LED passes over it, and then it cures in place. Because curing happens as the head moves, the ink never gets a chance to run — which is exactly what makes vertical wall printing (and floor printing) possible.
Different machines do this in different ways, and some run more than one ink or finish configuration on one platform. Which machine does what, and how, is a product-page question — if you want to compare configurations, start with the flagship platform at wall printer machine. Here, the takeaway is simpler: UV curing on contact is the reason a printer can print a wall at all.
The Wall Printing Process, Step by Step
Start to finish, wall printing is five steps. Most of what separates a clean result from a disappointing one happens before the printing — in file prep and surface prep — which is exactly where people new to this tend to look last. Here's each step: what happens, why it matters, and the mistake people make.
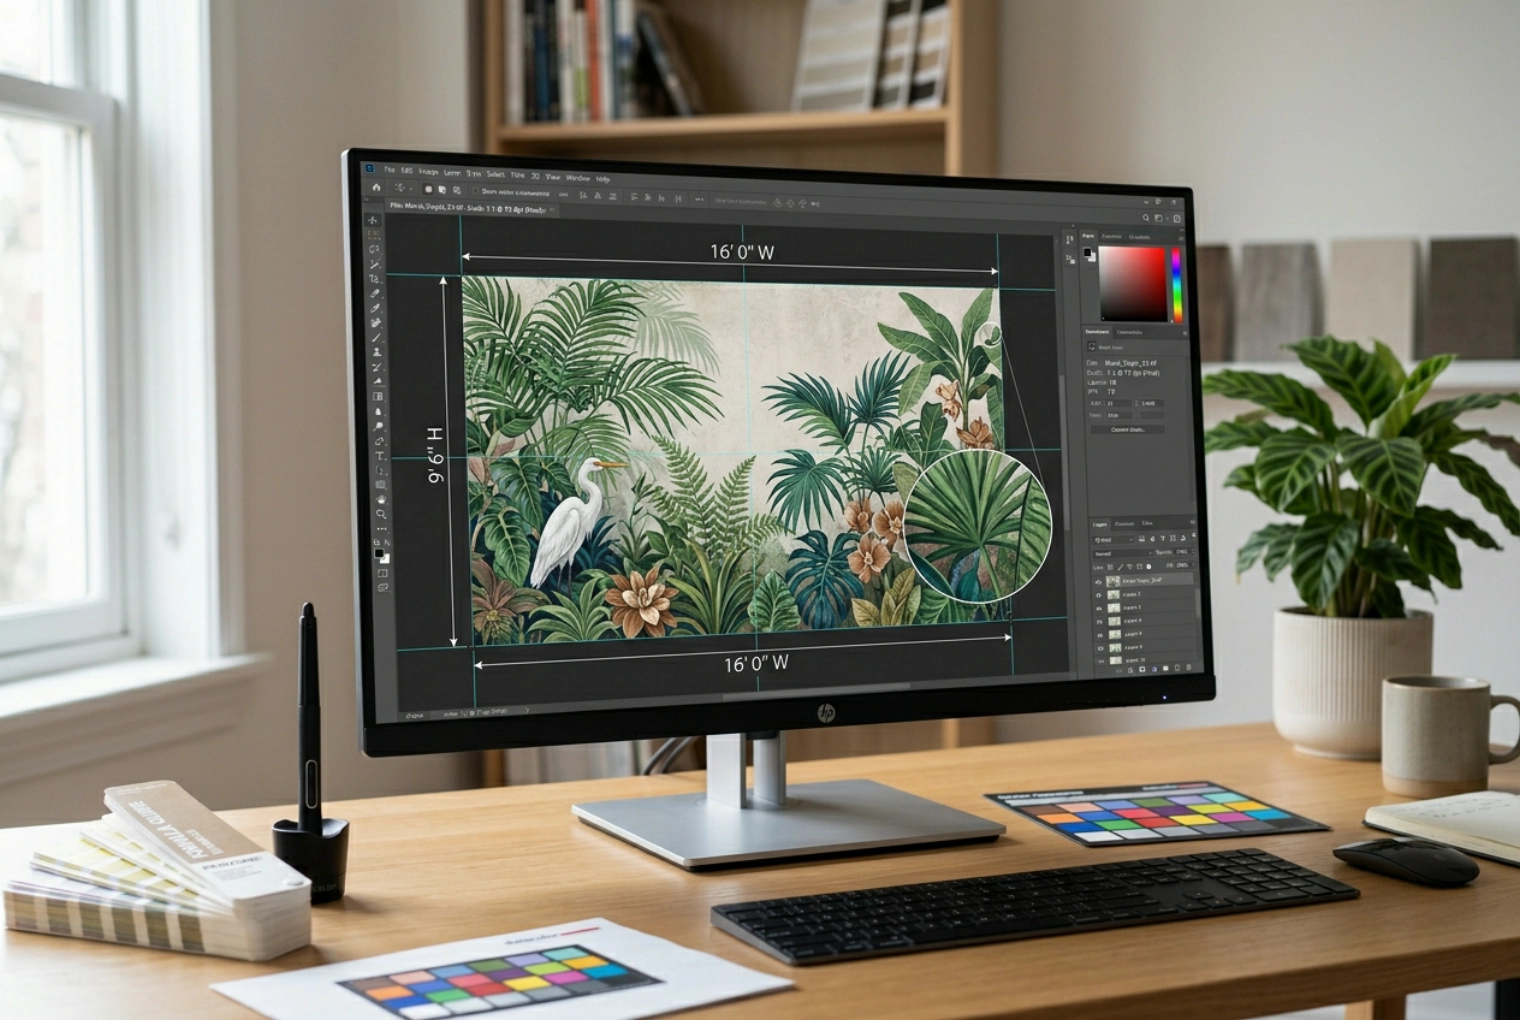
Step 1 · Prepare the File
The design — a photo, artwork, logo or pattern — is set up as a print-ready file at the size of the actual wall or floor, so the image maps to the real surface instead of being stretched to fit.
A file sized and prepared for the surface is what makes the finished wall look sharp at full scale. Garbage in, garbage out — the print can only be as good as the file.
Sending a small, low-detail image and expecting it to hold up blown across a whole wall. Get the file right and half the outcome is already decided.
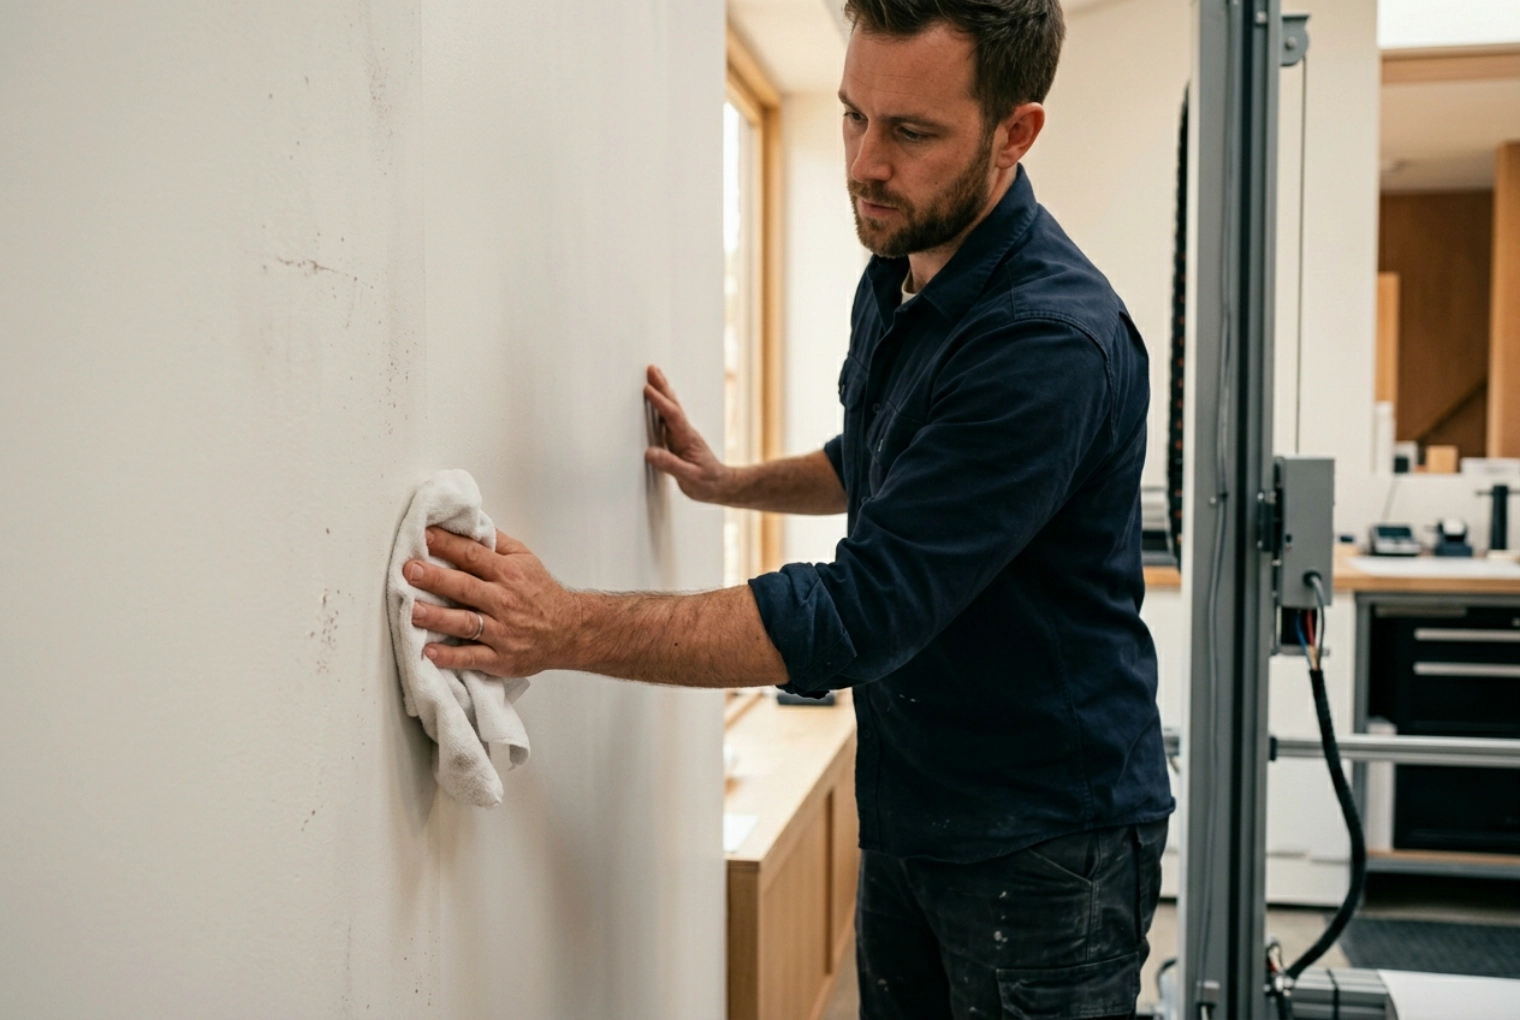
Step 2 · Prepare the Surface
The wall or floor is cleaned, and — depending on the surface — leveled and primed so the ink has a sound, even base to bond to. Loose paint, dust, grease or an uneven texture all get sorted before anything prints.
This is the step that decides whether the print bonds well and looks even. The printer can only lay ink onto what's there; a clean, prepared surface is the difference between a result that lasts and one that flakes or looks patchy.
Skipping prep and printing onto a dirty, damp or uneven wall. It's the single most overlooked step — and the one most likely to cause a disappointing result.
If you take one thing from this page, take this: surface prep matters as much as the printer.
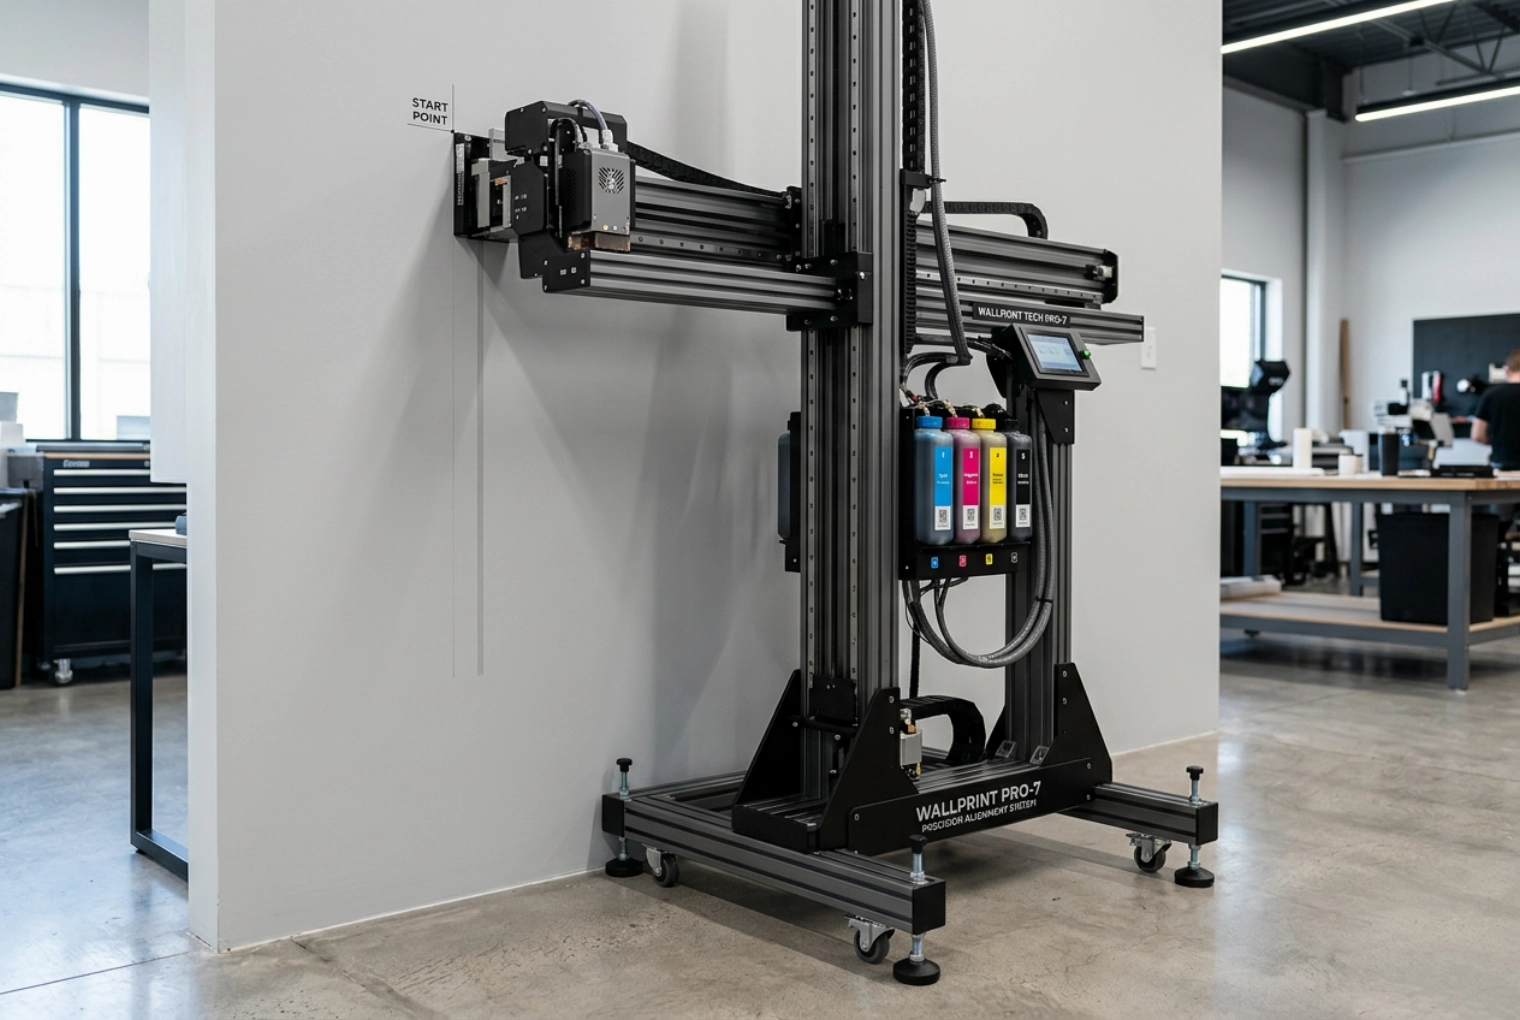
Step 3 · Set Up and Calibrate the Machine
The machine is positioned against the wall (or over the floor), squared up, and calibrated so it knows exactly where the surface is and where the image should start.
Calibration is what lines the print up with the surface — so the design lands level, in the right spot, at the right size. Precise positioning is a big part of why direct wall printing looks aligned rather than approximate.
Rushing setup. A few minutes of squaring and calibrating up front saves a reprint later.
Step 4 · Print
The print head moves across the surface and lays the ink down row by row, following the file, while the UV LED cures each pass on contact — so the ink dries the instant it lands. The machine works its way across the wall or floor until the image is complete.
This is the part people picture when they think "wall printer," but by now the outcome is mostly locked in by the file and the surface. Curing-on-contact is what keeps the ink from running on a vertical wall.
Assuming the printing step is where quality comes from. It's where the image appears — but the quality was set in Steps 1 and 2.
Step 5 · Cure and Finish
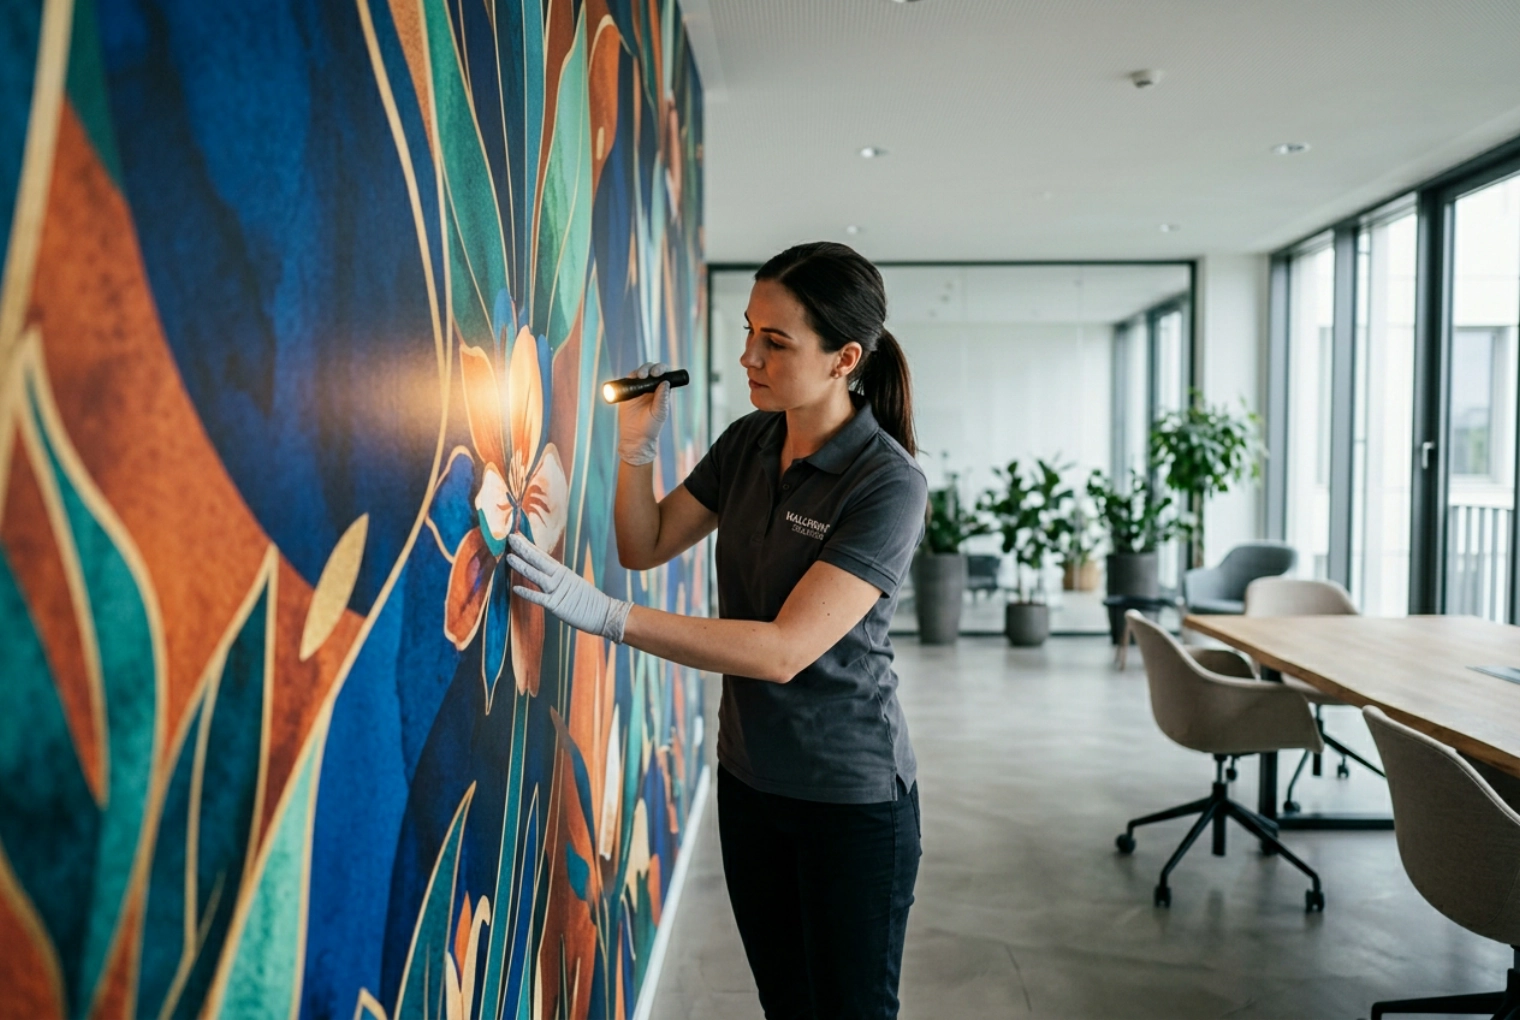
Because the UV LED cures each pass as it prints, the wall is essentially dry when the machine finishes. The last step is a quick check of the finished surface — and, where a job calls for it, a protective coat for extra durability outdoors.
Curing-on-contact means there's little wait for the ink to dry — the finished wall is ready to look at (and, for interior work, usually ready to live with) right away. The final check catches anything before the job is signed off.
Expecting a long drying wait like paint or wallpaper paste. With UV curing, that wait mostly isn't there.
File → surface → setup → print → finish. Want to see how good the result looks, or which surfaces it handles? That's just below in the questions. Want the machine specs behind all this? They're on the product pages.
Common Questions About Wall Printing
The boundary questions research-stage buyers ask most — answered plainly. Specific machine differences route to the product pages; industries route to applications.
What surfaces can a wall printer print on?
Most flat, prepared surfaces — interior walls, exterior walls, and, with a floor printer, floors like tile or epoxy. The key word is prepared: as Step 2 covers, a clean, even base matters more than the material itself. Which surfaces a specific machine is built for is a product-page detail.
Does it work indoors and outdoors?
Both. The same printing principle applies; outdoor work leans on UV-cured ink (and sometimes a protective finish) for weather and sun durability. The industries page shows outdoor jobs — signage, storefronts — at applications.
How good does the result look?
It reads as printed onto the wall, not stuck over it, because there's no vinyl or laminate layer. Actual print detail depends on the machine and the file — the detail specs live on the product pages, and applications shows finished work across industries so you can judge for yourself.
Do I need art skills to use one?
No. You need a good file and a prepared surface; the machine handles the printing. The five steps above are the whole workflow — no freehand painting involved.
Is it hard to learn or maintain?
The workflow is the five steps on this page, and machines ship with a factory-direct after-sales chain behind them (12-month parts warranty, spare parts stocked ≥ 5 years). Model-specific setup and maintenance detail belongs on the product pages.
Which machine should I get?
That depends on the work — interior murals, outdoor signage, floors — and it's a product-page question, not a how-it-works one. Start at products for the three machines, or applications to match a machine to your kind of work. When you're ready, the form below gets you a factory-direct quote and a recommendation.
Still Researching? Tell Us Your Scene
Now you know how it works. If you're still figuring out whether it fits what you do, tell us your scene — the kind of walls or floors you'd print and where — and you get back plain advice plus a factory-direct quote: which of the machines fits, and what it would take to start. Not sure yet? That's the point of this page — say so and we'll help you think it through, no pressure.